Tackling DIY home repairs can be a rewarding and cost-effective way to maintain your living space. From minor fixes to more involved projects, equipping yourself with the right knowledge and tools empowers you to handle common household issues. This guide is designed to equip you with essential DIY home repair skills.
Essential Tools for Every Homeowner
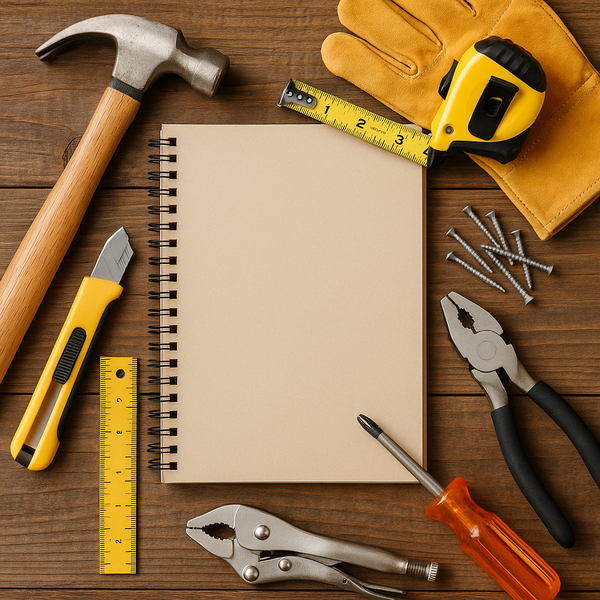
Before embarking on any DIY home repair project, having the right set of tools is paramount. A basic toolkit should include a hammer, screwdrivers (both Phillips and flathead in various sizes), adjustable wrenches, pliers, a tape measure, a utility knife, a level, and safety glasses. For more specific tasks, consider adding a power drill with assorted bits, a stud finder, a caulk gun, and a plunger. Understanding how to use each tool safely and effectively will not only make your repairs easier but also prevent potential injuries. For instance, always wear safety glasses when hammering or drilling. When using a utility knife, cut away from your body. Power tools require careful handling; ensure you read the manufacturer’s instructions before operation. Investing in good quality tools, even if they cost a bit more, will save you money in the long run as they are more durable and reliable. Don't forget a sturdy ladder for accessing high areas. A well-organized toolbox or workbench will also streamline your repair process, allowing you to quickly find what you need.
Common Plumbing Fixes You Can Tackle
Leaky faucets and clogged drains are common plumbing annoyances that many homeowners can fix themselves. For a leaky faucet, the culprit is often a worn-out washer or O-ring. First, turn off the water supply to the faucet, usually located under the sink. Then, carefully disassemble the faucet handle and stem, identify the worn-out part, and replace it. You can find replacement parts at most hardware stores. For clogged drains, try using a plunger first. Ensure you create a good seal around the drain opening and plunge with force. If plunging doesn't work, a mixture of baking soda and vinegar can help dissolve minor clogs. Pour half a cup of baking soda down the drain, followed by half a cup of vinegar. Let it fizz for about 15 minutes, then flush with hot water. For more stubborn clogs, a drain snake or auger can be effective. Remember to wear gloves when dealing with plumbing issues and to clean up thoroughly afterward. Avoid using harsh chemical drain cleaners, as they can damage your pipes over time.
Simple Electrical Repairs for the Home
While it’s crucial to call a professional electrician for complex wiring issues, some minor electrical repairs are manageable for DIY enthusiasts. Replacing a faulty light switch or outlet cover is a straightforward task. Always ensure the power to the specific circuit is turned off at the breaker box before you begin. Once the power is off, remove the old switch or outlet cover plate. Unscrew the existing switch or outlet from the electrical box. Carefully disconnect the wires and reconnect them to the new switch or outlet, ensuring the wires are correctly positioned according to the terminals (hot, neutral, ground). Secure the new switch or outlet back into the box and attach the new cover plate. If you're unsure about any step, it's always best to consult a professional. Another common electrical task is replacing a burnt-out light bulb, but ensure the fixture is cool before attempting this. Regularly check your outlets for any signs of damage, such as cracks or discoloration, which could indicate a potential hazard.
Painting and Wall Repair Basics
Refreshing your walls with a new coat of paint can dramatically transform a room. Before painting, proper surface preparation is key. Clean the walls to remove any dirt or grease. Fill any holes or cracks with spackling paste using a putty knife. Once the spackle is dry, sand the area smooth. Apply painter's tape along the edges of trim, windows, and doors to create clean lines. For best results, apply a primer, especially if you’re painting over a dark color or a glossy finish. Then, apply your chosen paint in thin, even coats. Typically, two coats are sufficient for good coverage. Allow adequate drying time between coats as per the paint manufacturer’s instructions. If you're dealing with wallpaper removal, a wallpaper steamer or a solution of hot water and fabric softener can make the process easier. After removal, clean any remaining adhesive residue from the walls.
Addressing Minor Wood and Furniture Repairs
Wood furniture can be susceptible to scratches, dents, and loose joints. For minor scratches on wooden surfaces, you can often use a furniture polish or a wax crayon that matches the wood color to disguise them. For deeper gouges or dents, wood filler or putty can be used. Apply the filler with a putty knife, let it dry completely, and then sand it smooth. You can then stain or paint the area to match the surrounding wood. If a piece of wooden furniture has a loose joint, wood glue is your best friend. Disassemble the loose joint if possible, clean off any old glue, apply new wood glue to both surfaces, and then clamp the pieces together tightly until the glue dries. Consider reinforcing the joint with a screw or nail for added stability, pre-drilling the hole to prevent the wood from splitting. For refinishing older furniture, sanding down the surface to bare wood and then applying a new stain and protective topcoat can give it a new lease on life.

